Now's the Time to Start Using Styles
Using Word® Styling
To open the Styles window, click the small arrow at the bottom right of the Styles box at the top of the screen.

If you have been styling each chapter title individually as you go along, your styles list will likely look like this:
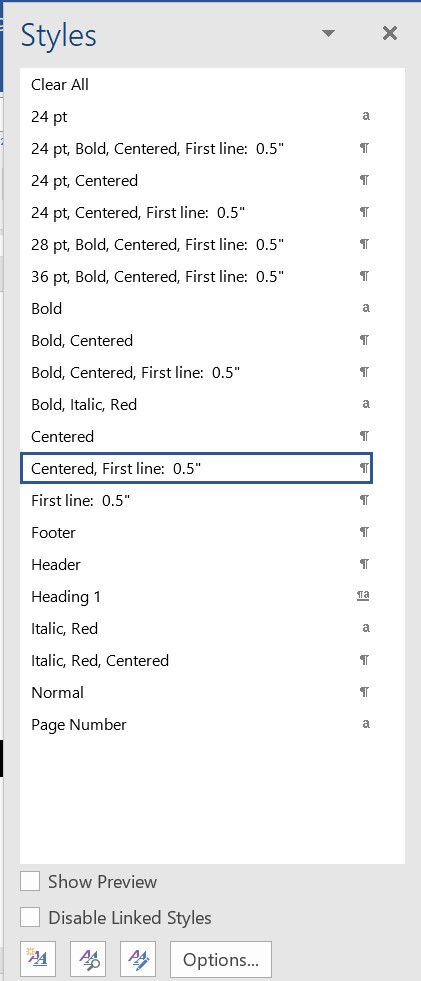
It is hard to remember individual styles to apply when you are concentrating on writing the story. In this example, the writer has chapter heads in 24, 28 and 36 point, some centered, some bolded. This is time consuming to standardize and impossible for an editor to know how the author really intended the chapter heads to appear.
When you start to write, just use the preset formats that Word® provides. Normal for base text and Heading 1, Heading 2, etc. for your chapter heads and sub heads. As you type a heading, just click Heading 1, Heading 2 or whichever heading number is appropriate for the heading you are typing. This will code that line to that heading number and format it to the preset style.
It's likely that the format you want will differ from the preset. Just modify the preset to your choice of settings. Right click on Heading 1 either in the bar at the top of the screen or in the style list. Choose modify and change the font, font size, justification, or spacing to the settings you prefer. Later if you change your mind and want a different font for main chapter heading, just modify Heading 1 and change the font. All of the lines coded to Heading 1 will change automatically. Use the same process to change each heading style to your preferences.
If you did not use styles from the start of your project, you can still convert your document to use them. Right click on one of the styles to convert and choose Select All __ Instance(s)
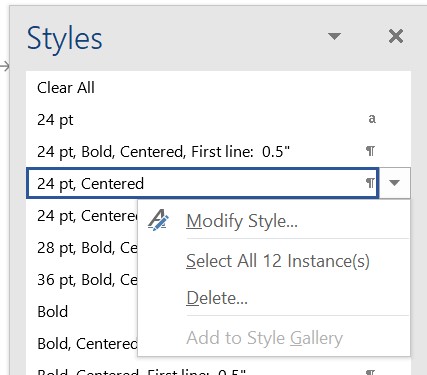
Then click on the preset style you wish to convert it to.
Anything not clear? Please let us know.


